2020最新V2Fly/V2ray web管理面板搭建
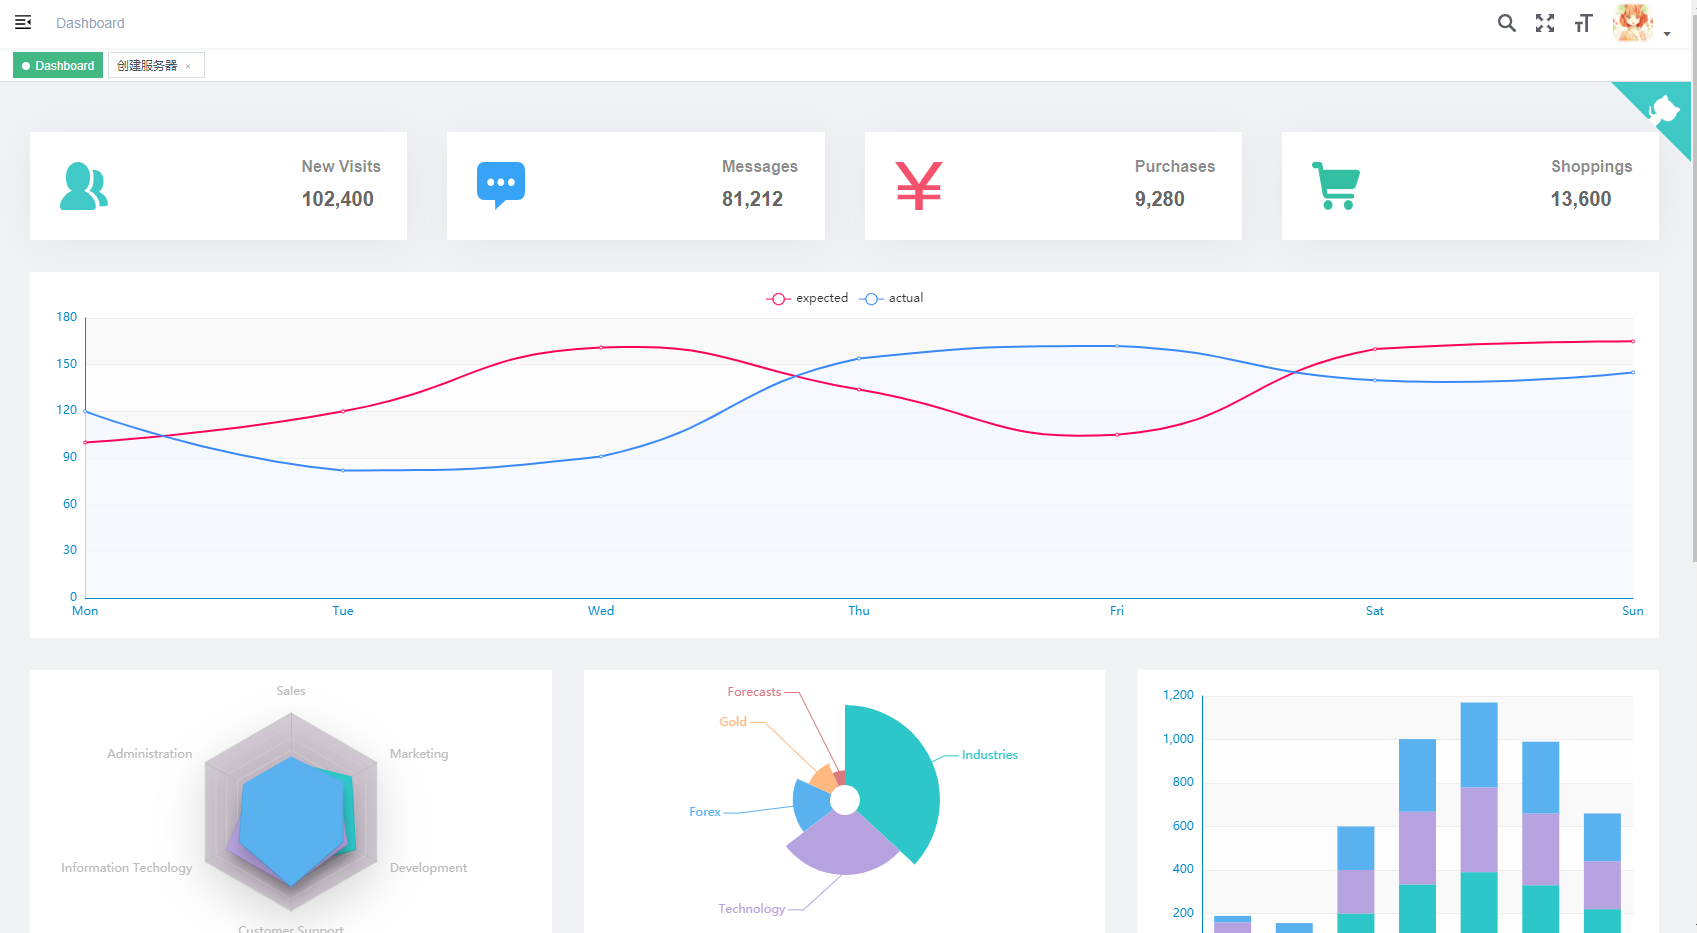
2020最新V2Fly/V2ray web管理面板搭建

视频搭建教程

面板项目地址
V2Fly项目地址
官方推荐方法一:
1:安装前准备
域名1个;VPS一台(这里用谷歌云);系统镜像:CENTOS7
2:设定xshell进行root密码登陆,避免SSH经常断连

1
2
sed -i 's/PermitRootLogin no/PermitRootLogin yes/g' /etc/ssh/sshd_config
sed -i 's/PasswordAuthentication no/PasswordAuthentication yes/g' /etc/ssh/sshd_config

设定密码
passwd root
重启sshd服务
service sshd restart
3:开始安装

1
2
3
4
yum update
yum makecache
yum install epel-release
yum install vim nginx java-1.8.0-openjdk wget unzip -y

安装V2ray
3:配置Nginx

1
2
cd /etc/nginx/conf.d
vi v2ray-manager.conf
1
2
3
4
5
6
7
8
9
10
11
12
13
14
15
16
17
18
19
20
21
server {
listen 80;
server_name 127.0.0.1; #修改为自己的IP/域名
root /opt/jar/web;

location /api {
proxy_pass http://127.0.0.1:9091/;
}

location /ws/ {
proxy_redirect off;
proxy_pass http://127.0.0.1:8081;
proxy_http_version 1.1;
proxy_set_header Upgrade $http_upgrade;
proxy_set_header Connection "upgrade";
proxy_set_header Host $http_host;
proxy_set_header X-Real-IP $remote_addr;
proxy_set_header X-Forwarded-For $proxy_add_x_forwarded_for;
}

}
1
2
3
4
5
6
7
8
9
systemctl start nginx
nginx -s reload
systemctl enable nginx
systemctl status nginx.service
````bash
6:创建目录
````bash
mkdir /opt/jar -p
cd /opt/jar

下载releases包

1
2
3
wget -c https://glare.now.sh/master-coder-ll/v2ray-web-manager/admin -O admin.jar
wget -c https://glare.now.sh/master-coder-ll/v2ray-manager-console/dist -O dist.zip
wget -c https://glare.now.sh/master-coder-ll/v2ray-web-manager/v2ray-proxy -O v2ray-proxy.jar

解压前端到web文件夹
unzip dist.zip -d web

4.下载管理配置文件

1
2
3
wget -c --no-check-certificate https://raw.githubusercontent.com/master-coder-ll/v2ray-web-manager/master/conf/admin.yaml
wget -c --no-check-certificate https://raw.githubusercontent.com/master-coder-ll/v2ray-web-manager/master/conf/proxy.yaml
wget -c --no-check-certificate https://raw.githubusercontent.com/master-coder-ll/v2ray-web-manager/master/conf/config.json

修改admin.yaml与proxy.yaml

5:配置V2ray

1
cp /opt/jar/config.json /usr/local/etc/v2ray/

重启v2ray

1
2
service v2ray stop
service v2ray start

6.运行JAVA
创建默认数据库目录

1
mkdir /opt/jar/db -p

运行admin

1
nohup java -jar -Xms40m -Xmx40m -XX:MaxDirectMemorySize=10M -XX:MaxMetaspaceSize=80m  /opt/jar/admin.jar --spring.config.location=/opt/jar/admin.yaml > /dev/null 2>&1 &

运行V2ray-proxy

1
nohup java -jar -Xms40m -Xmx40m -XX:MaxDirectMemorySize=10M -XX:MaxMetaspaceSize=80m /opt/jar/v2ray-proxy.jar --spring.config.location=/opt/jar/proxy.yaml > /dev/null 2>&1 &

7.日志查看

查看admin日志

tail -100f /opt/jar/logs/admin.log

查看admin的错误日志(version > v3.1.5)

tail -100f /opt/jar/logs/admin.log.ERROR

查看 v2ray-proxy日志

tail -100f /opt/jar/logs/v2ray-proxy.log

查看v2ray-proxy的错误日志(version > v3.1.5)

tail -100f /opt/jar/logs/v2ray-proxy.log.ERROR

ctrl+c 退出查看日志

布署常见错误解决方案:
502报错
重新运行以下命令

1
nohup java -jar -Xms100m -Xmx100m -XX:MaxDirectMemorySize=10M -XX:MaxMetaspaceSize=80m  /opt/jar/admin.jar --spring.config.location=/opt/jar/admin.yaml > /dev/null 2>&1 &
1
setsebool httpd_can_network_connect 1

搭建完后节点无法上网请校准时间

1
2
3
date -R
timedatectl set-local-rtc 1
timedatectl set-timezone Asia/Shanghai

如何设置开机自启JAVA进程
1:Create v2panel-start.sh

vi /opt/jar/v2panel-start.sh

1
2
3
4
5
#!/bin/sh
nohup java -jar -Xmx40m -XX:MaxDirectMemorySize=8M -XX:MaxMetaspaceSize=80m /opt/jar/admin.jar --spring.config.location=/opt/jar/admin.yaml > /dev/null 2>&1 &
echo $! > /var/run/v2ray-admin.pid
nohup java -jar -Xmx40m -XX:MaxDirectMemorySize=8M -XX:MaxMetaspaceSize=48m /opt/jar/v2ray-proxy.jar --spring.config.location=/opt/jar/proxy.yaml > /dev/null 2>&1 &
echo $! > /var/run/v2ray-proxy.pid
1
chmod +x /opt/jar/v2panel-start.sh

2:Create v2panel-stop.sh
vi /opt/jar/v2panel-stop.sh

1
2
3
4
5
#!/bin/sh
PID1=${cat /var/run/v2ray-admin.pid}
kill -15 $PID1
PID2=${cat /var/run/v2ray-proxy.pid}
kill -15 $PID2

3:Register v2panel service
vi /etc/systemd/system/v2panel.service

1
2
3
4
5
6
7
8
9
10
[Unit]
Description=v2ray-web-manager
After=network.target network-online.target nss-lookup.target mysql.service mariadb.service mysqld.service
[Service]
Type=forking
StandardError=journal
ExecStart=/opt/jar/v2panel-start.sh
ExecStop=/opt/jar/v2panel-stop.sh
[Install]
WantedBy=multi-user.target

4:启动管理脚本
Set autostart
systemctl enable v2panel
Start service
systemctl start v2panel
Stop service
systemctl stop v2panel

5:SSL证书申请

1
2
3
yum install socat -y
curl https://get.acme.sh | sh
source ~/.bashrc

证书申请

1
bash ~/.acme.sh/acme.sh --issue -d 域名 --alpn -k ec-256

指定安装路径

1
mkdir /etc/v2ray && sudo ~/.acme.sh/acme.sh --installcert -d 域名 --fullchainpath /etc/v2ray/v2ray.crt --keypath /etc/v2ray/v2ray.key --ecc

6:配置Nginx配置文件
vi /etc/nginx/conf.d/v2ray-manager.conf

1
2
3
4
5
6
7
8
9
10
11
12
13
14
15
16
17
18
19
20
21
22
23
24
25
26
27
28
29
30
31
server {
listen 443 ssl http2;
server_name 域名;
root /opt/jar/web;
ssl_certificate /etc/v2ray/v2ray.crt;
ssl_certificate_key /etc/v2ray/v2ray.key;
ssl_protocols TLSv1.1 TLSv1.2 TLSv1.3;
ssl_ciphers TLS13-AES-128-GCM-SHA256:ECDHE-RSA-AES128-GCM-SHA256:ECDHE:ECDH:AES:HIGH:!NULL:!aNULL:!MD5:!ADH:!RC4;


location /api {
proxy_pass http://127.0.0.1:9091/;
}

location /ws/ {
proxy_redirect off;
proxy_pass http://127.0.0.1:8081;
proxy_http_version 1.1;
proxy_set_header Upgrade $http_upgrade;
proxy_set_header Connection "upgrade";
proxy_set_header Host $http_host;
proxy_set_header X-Real-IP $remote_addr;
proxy_set_header X-Forwarded-For $proxy_add_x_forwarded_for;
}
}

server {
listen 80;
server_name 域名;
return 301 https:///$http_host$request_uri;
}

方法二推荐:

用宝塔面板搭建

1:BT安装

1
yum install -y wget && wget -O install.sh http://download.bt.cn/install/install_6.0.sh && sh install.sh

2:登陆宝塔安装Nginx

3:添加网站;添加域名;申请SSL证书并修改配置文件
在「设置」——「配置文件」选项,在ssl最后一个}前添加如下代码:

1
2
3
4
5
6
7
8
9
10
11
12
13
14
location /api {
proxy_pass http://127.0.0.1:9091/;
}

location /ws/ {
proxy_redirect off;
proxy_pass http://127.0.0.1:8081;
proxy_http_version 1.1;
proxy_set_header Upgrade $http_upgrade;
proxy_set_header Connection "upgrade";
proxy_set_header Host $http_host;
proxy_set_header X-Real-IP $remote_addr;
proxy_set_header X-Forwarded-For $proxy_add_x_forwarded_for;
}

4:安装V2ray
V2Fly项目地址

1
2
3
4
5
6
yum makecache
yum install curl
curl -O https://raw.githubusercontent.com/v2fly/fhs-install-v2ray/master/install-release.sh
curl -O https://raw.githubusercontent.com/v2fly/fhs-install-v2ray/master/install-dat-release.sh
bash install-release.sh
bash install-dat-release.sh

5:编辑V2ray配置文件
cd /usr/local/etc/v2ray
vi config.json

1
2
3
4
5
6
7
8
9
10
11
12
13
14
15
16
17
18
19
20
21
22
23
24
25
26
27
28
29
30
31
32
33
34
35
36
37
38
39
40
41
42
43
44
45
46
47
48
49
50
51
52
53
54
55
56
57
58
59
60
61
62
63
64
65
66
67
68
69
70
71
72
73
74
75
76
77
78
79
80
81
82
83
84
85
86
87
88
89
90
91
92
93
94
{
"api": {
"services": [
"HandlerService",
"LoggerService",
"StatsService"
],
"tag": "api"
},
"inboundDetour": [
{
"listen": "127.0.0.1",
"port": 62789,
"protocol": "dokodemo-door",
"settings": {
"address": "127.0.0.1"
},
"tag": "api"
}
],
"log": {
"loglevel": "info"
},
"inbounds": [
{
"listen": "127.0.0.1",
"port": 6001,
"protocol": "vmess",
"settings": {
"clients": [],
"disableInsecureEncryption": false
},
"sniffing": {
"destOverride": [
"http",
"tls"
],
"enabled": true
},
"streamSettings": {
"network": "ws",
"security": "none",
"wsSettings": {
"headers": {},
"path": "/ws/"
}
},
"tag": "6001"
}
],
"outbounds": [
{
"protocol": "freedom",
"settings": {}
},
{
"protocol": "blackhole",
"settings": {},
"tag": "blocked"
}
],
"policy": {
"system": {
"statsInboundDownlink": true,
"statsInboundUplink": true
}
},
"routing": {
"rules": [
{
"inboundTag": [
"api"
],
"outboundTag": "api",
"type": "field"
},
{
"ip": [
"geoip:private"
],
"outboundTag": "blocked",
"type": "field"
},
{
"outboundTag": "blocked",
"protocol": [
"bittorrent"
],
"type": "field"
}
]
},
"stats": {}
}

重启V2ray

1
service v2ray restart

其余同第一种方法的第6步开始

END

TG交流群

支付宝收款签约

年付81元G口VPS

SiemensTutorials

VTURAY网络加速

亚马逊测评资源网|

美国住宅动态